Post Game Routine with Steven Adams

GETTING STARTED
BodyLever is a powerful tool that puts recovery and relief in your hands. Whether you’re considering one or just unboxed yours, this guide will help you get started. Follow the steps and demos to master the most effective techniques—and start experiencing relief from day one.

BEFORE YOU BEGIN
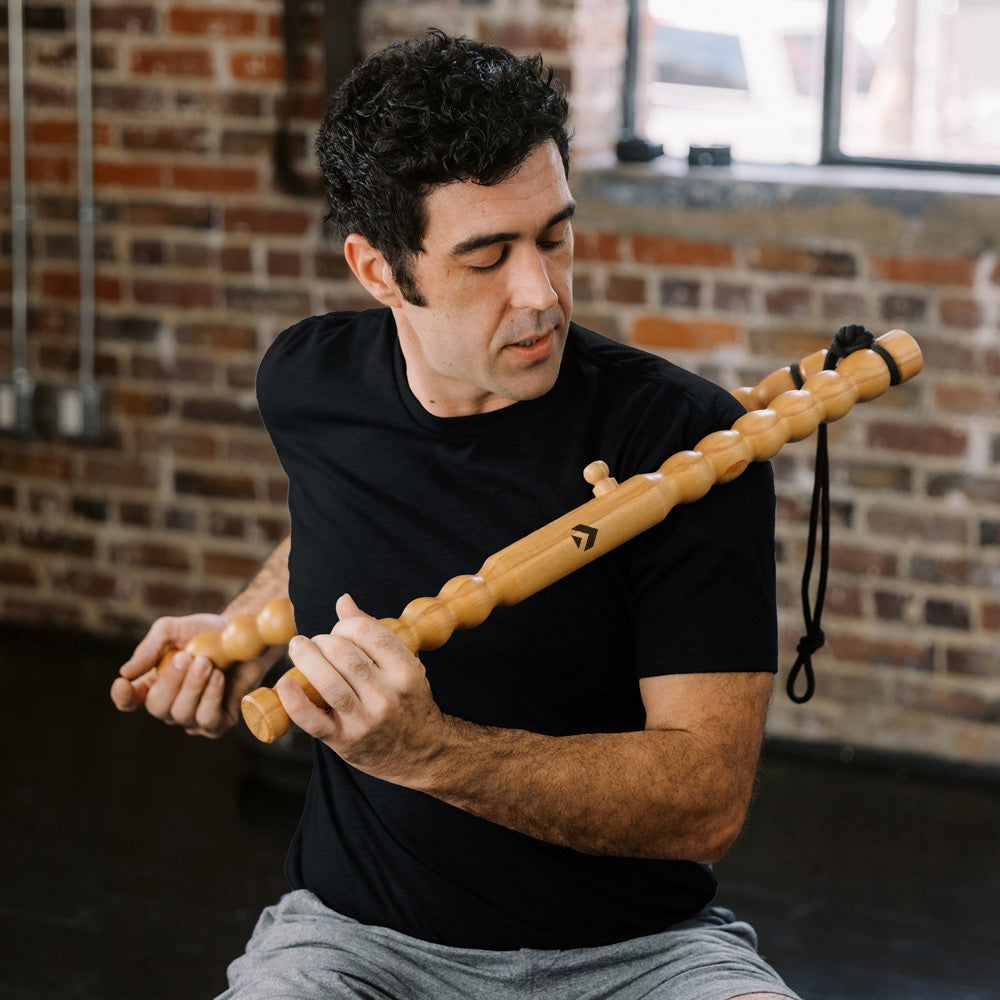
When you receive your BodyLever, you may need to adjust the rope slightly depending on your body type and pressure preferences. Watch the video for a quick and easy guide.
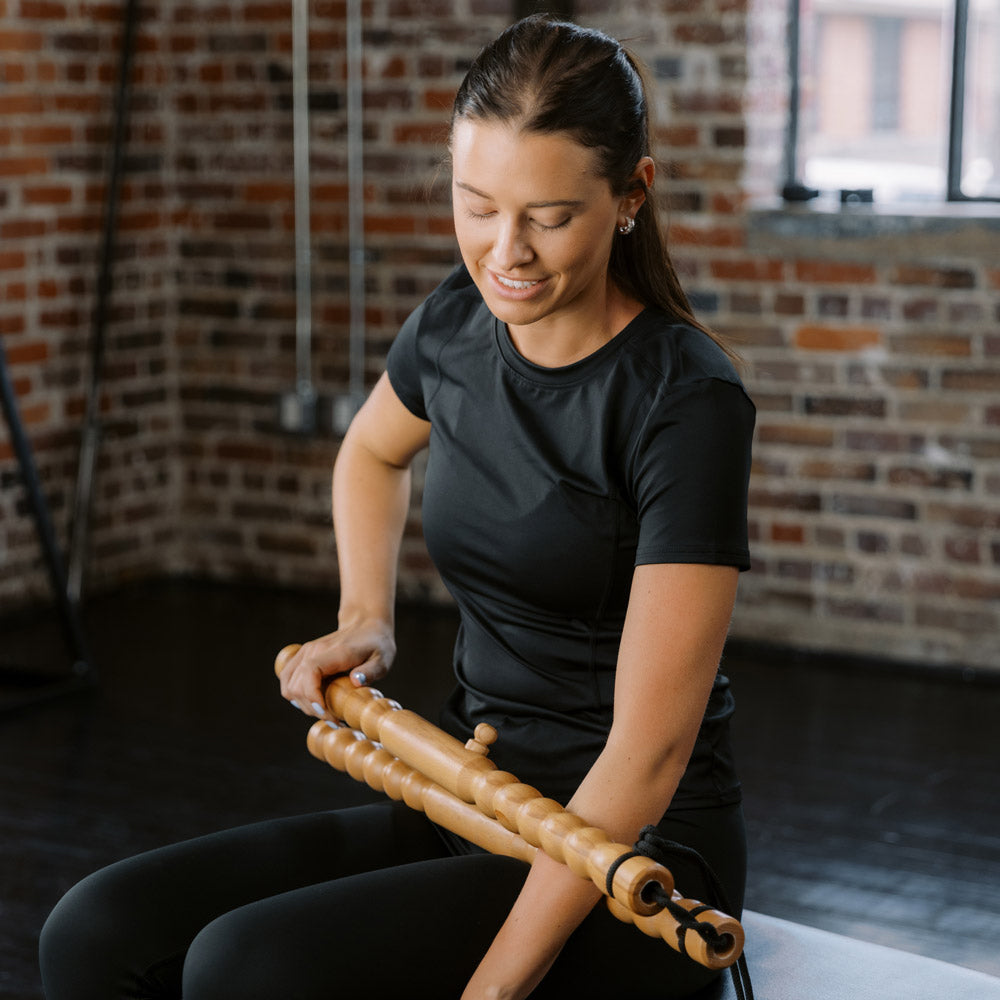
SEE IT IN ACTION
Watch BodyLever inventor Steve Terry demonstrate how to use the massage tool on different areas of the body. Each video shows proper technique to help you recover safely and effectively.
LEARN THE BASICS
STEP 1
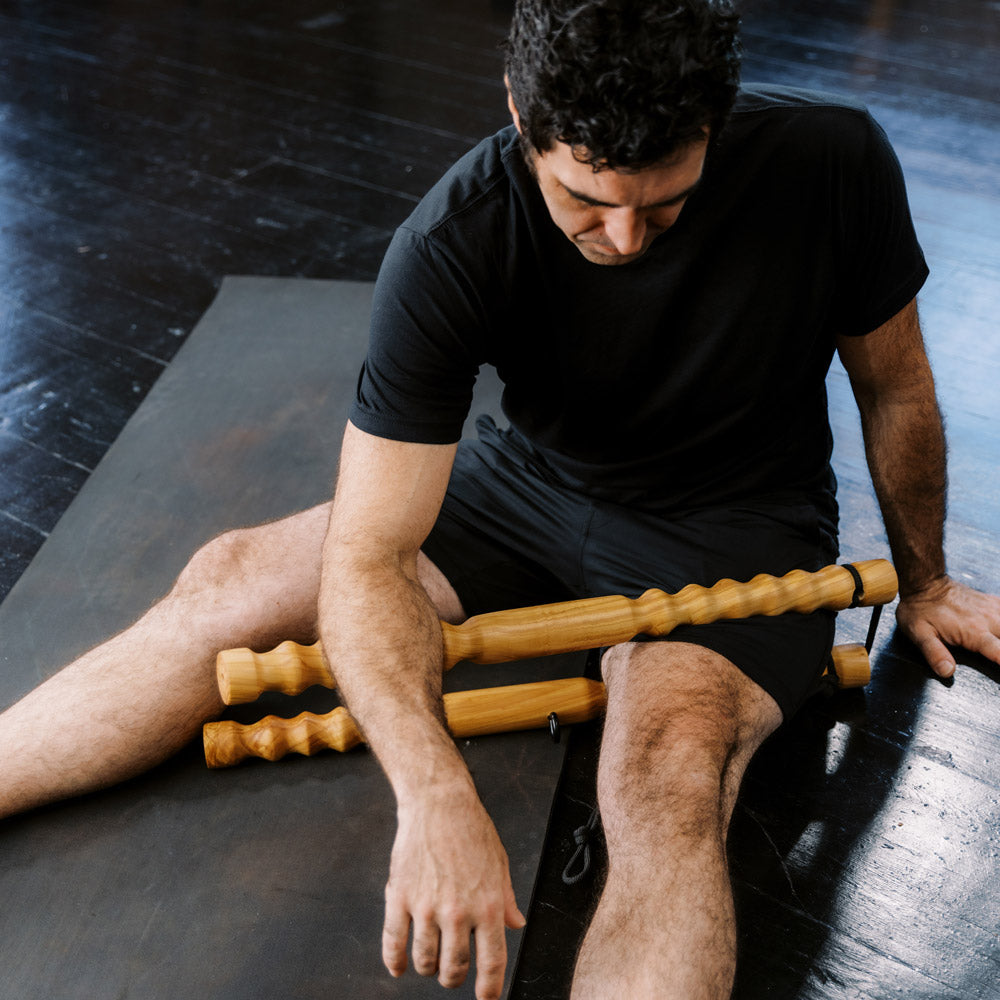
Select which muscle or connective tissue feels tight, sore, or restricted. Common areas include quads, hamstrings, shoulders, calves, glutes, low back, shoulders, and neck.

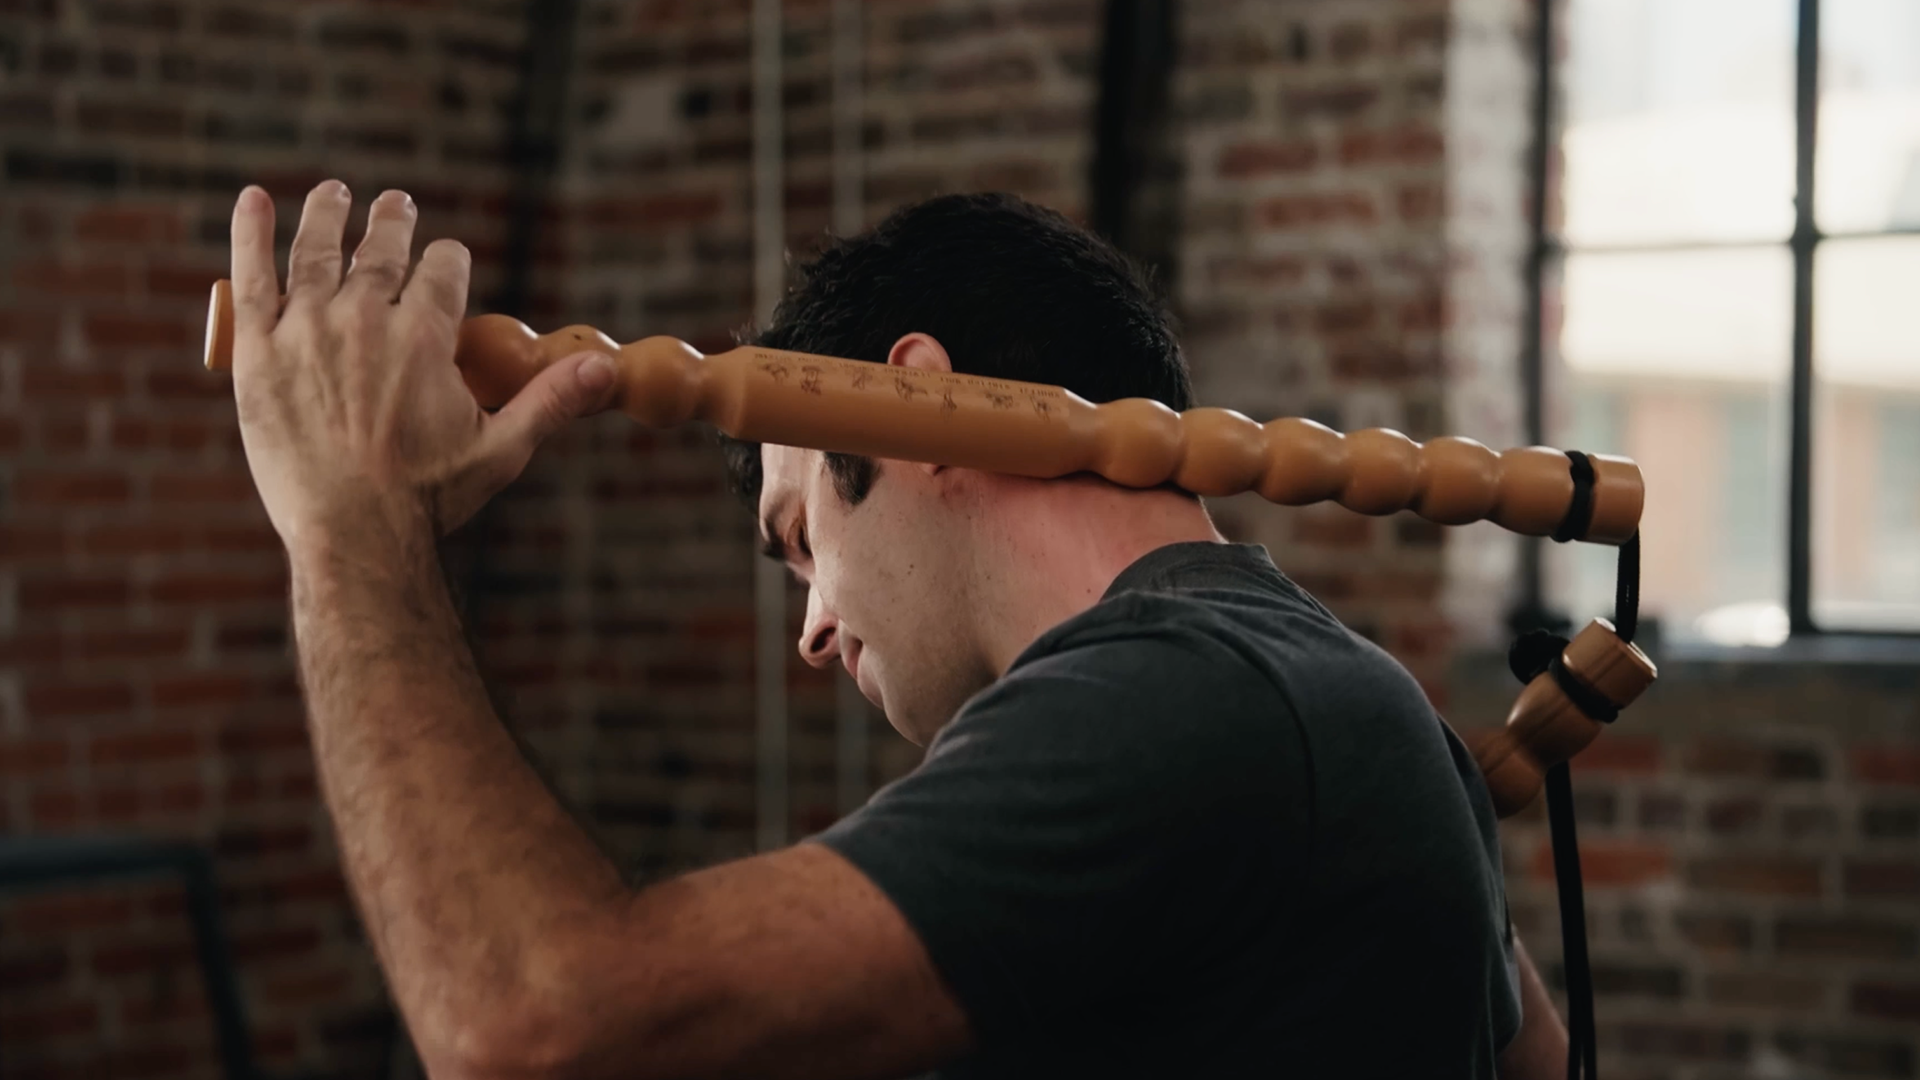
STEP 2
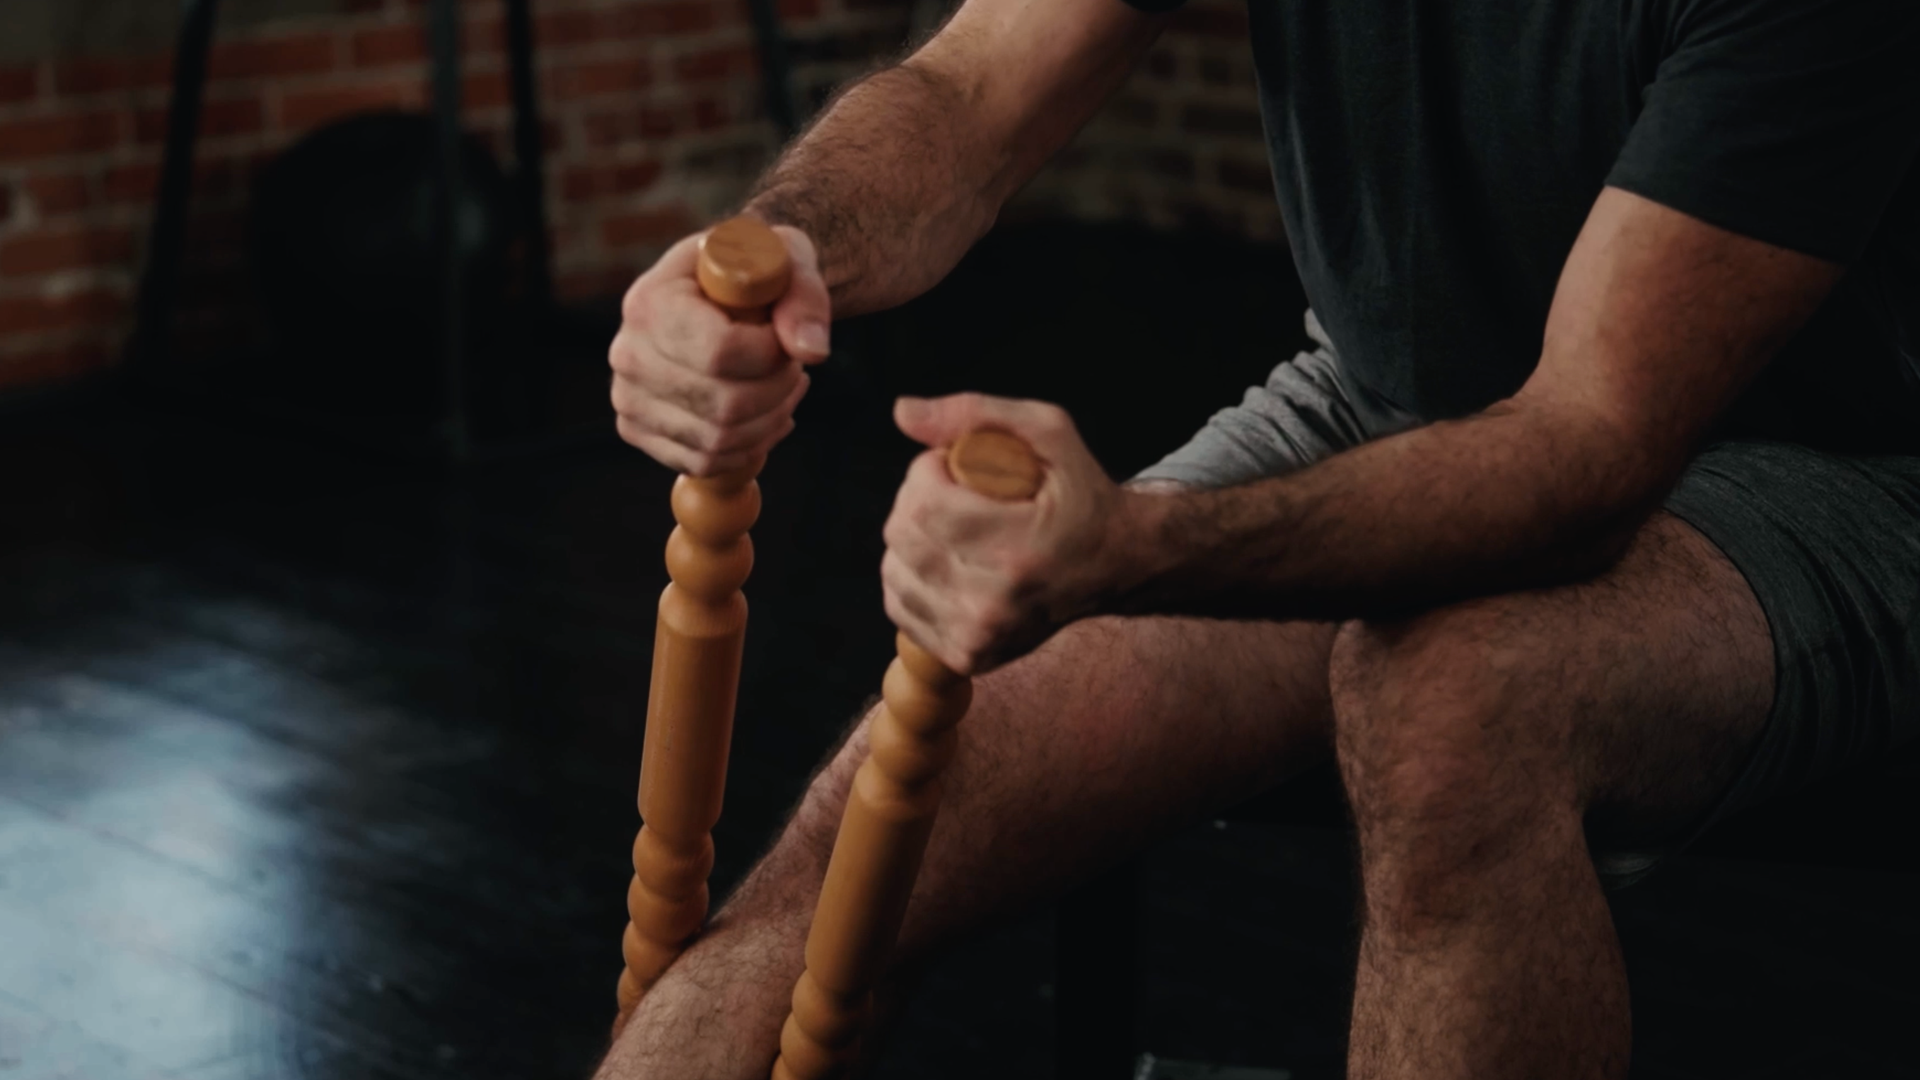
You are the fulcrum. You drive the motion. Place the wooden sticks (lever) around yourself so the rolling surface or pin-pointer is against the muscle/tissue you want to work on.
STEP 3
Gradually roll or press the sticks (lever) to start adding pressure. Use gentle body weight or adjust your leverage to increase pressure. Avoid using it on other people without proper training.
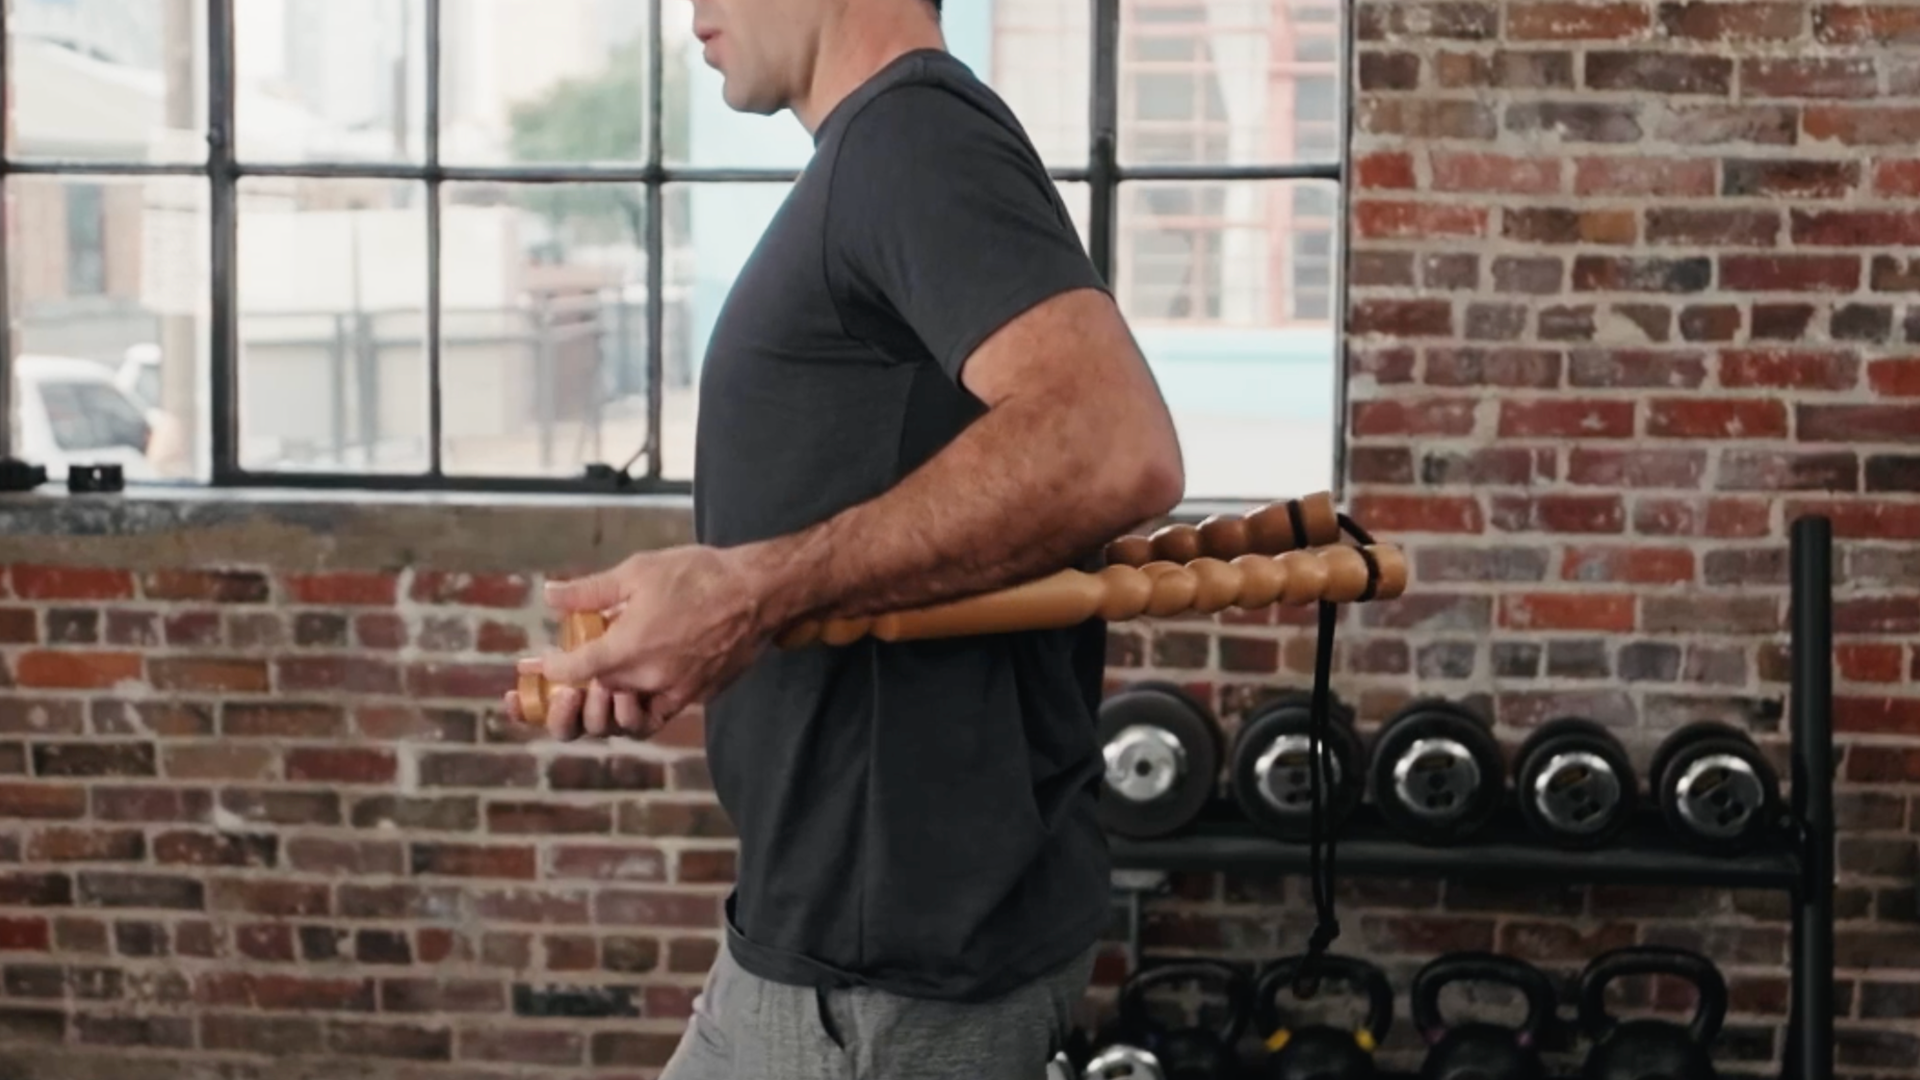
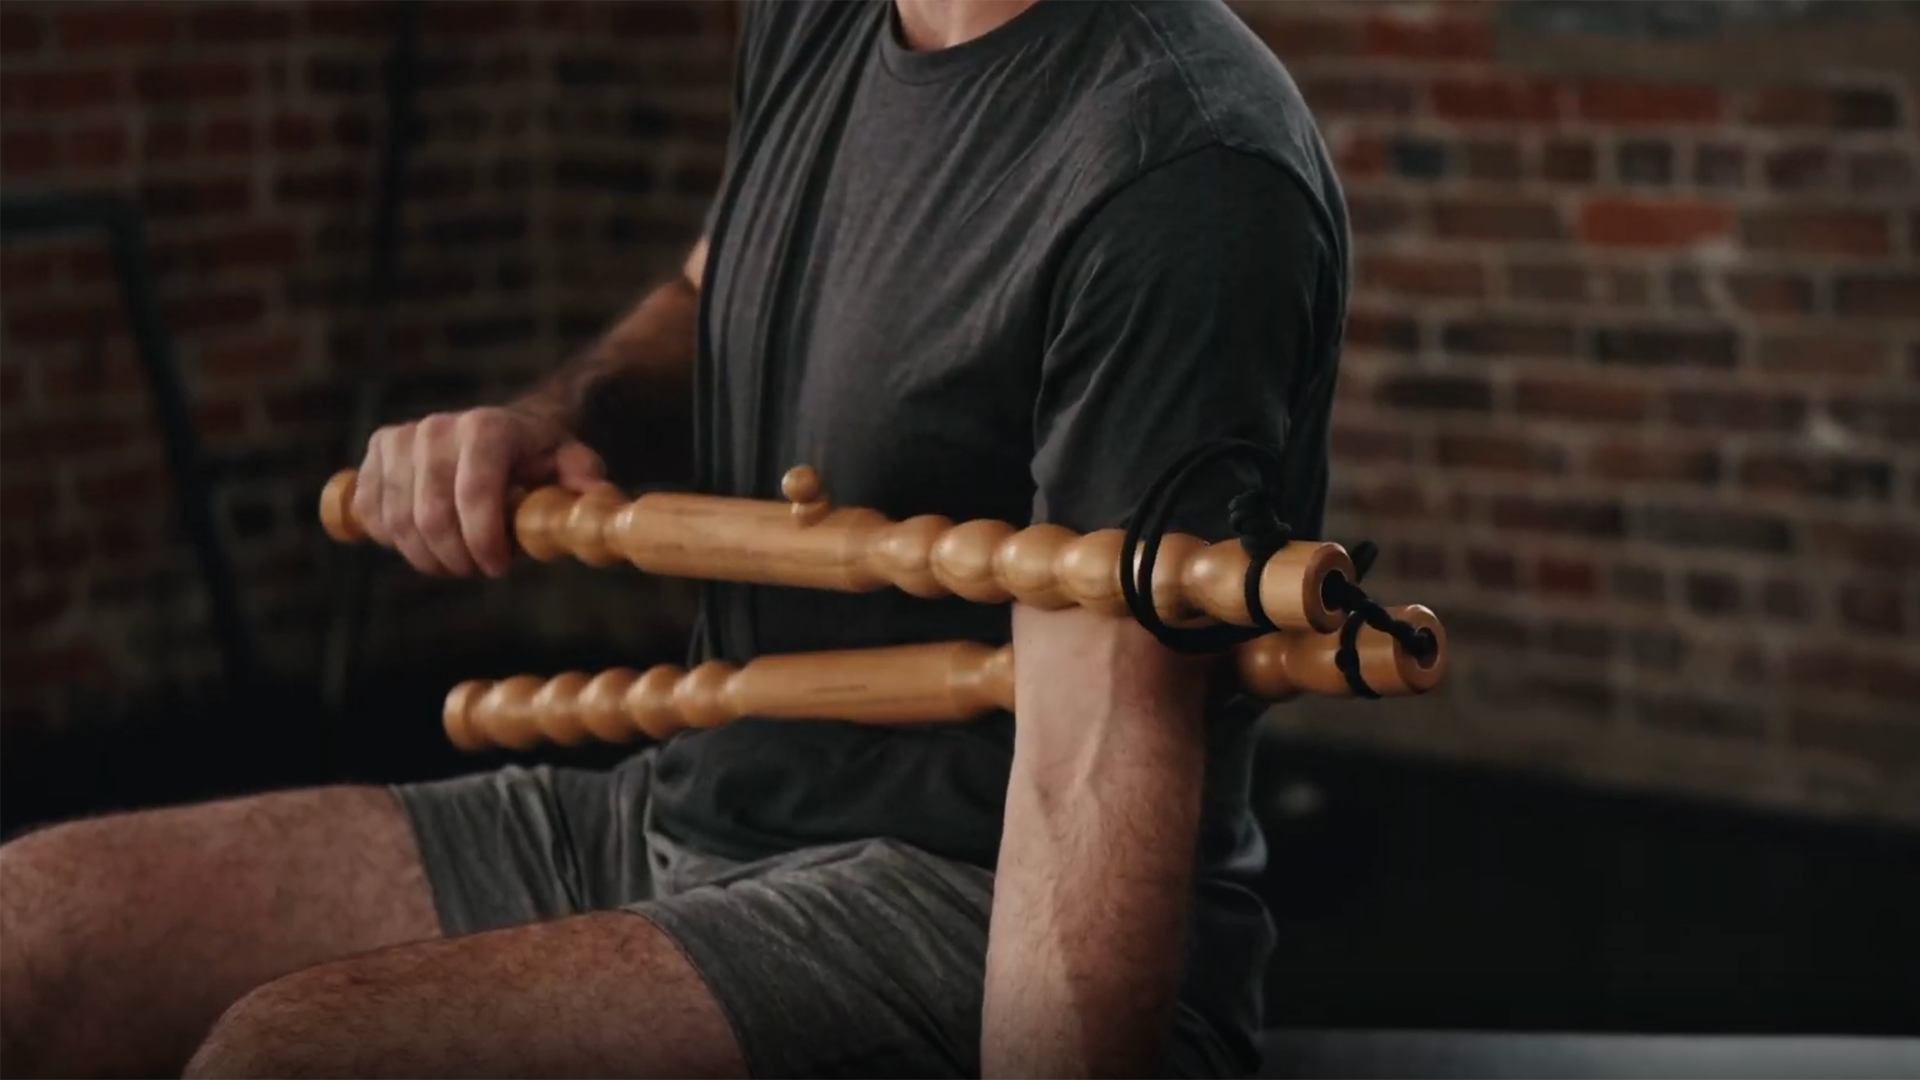
STEP 4
Explore the lever, it’s very intuitive—twisting the rope to tighten for arms and calves. Alternate using sweeps, pin-pointing, and static pressure (holding in one spot for 20-60 seconds).

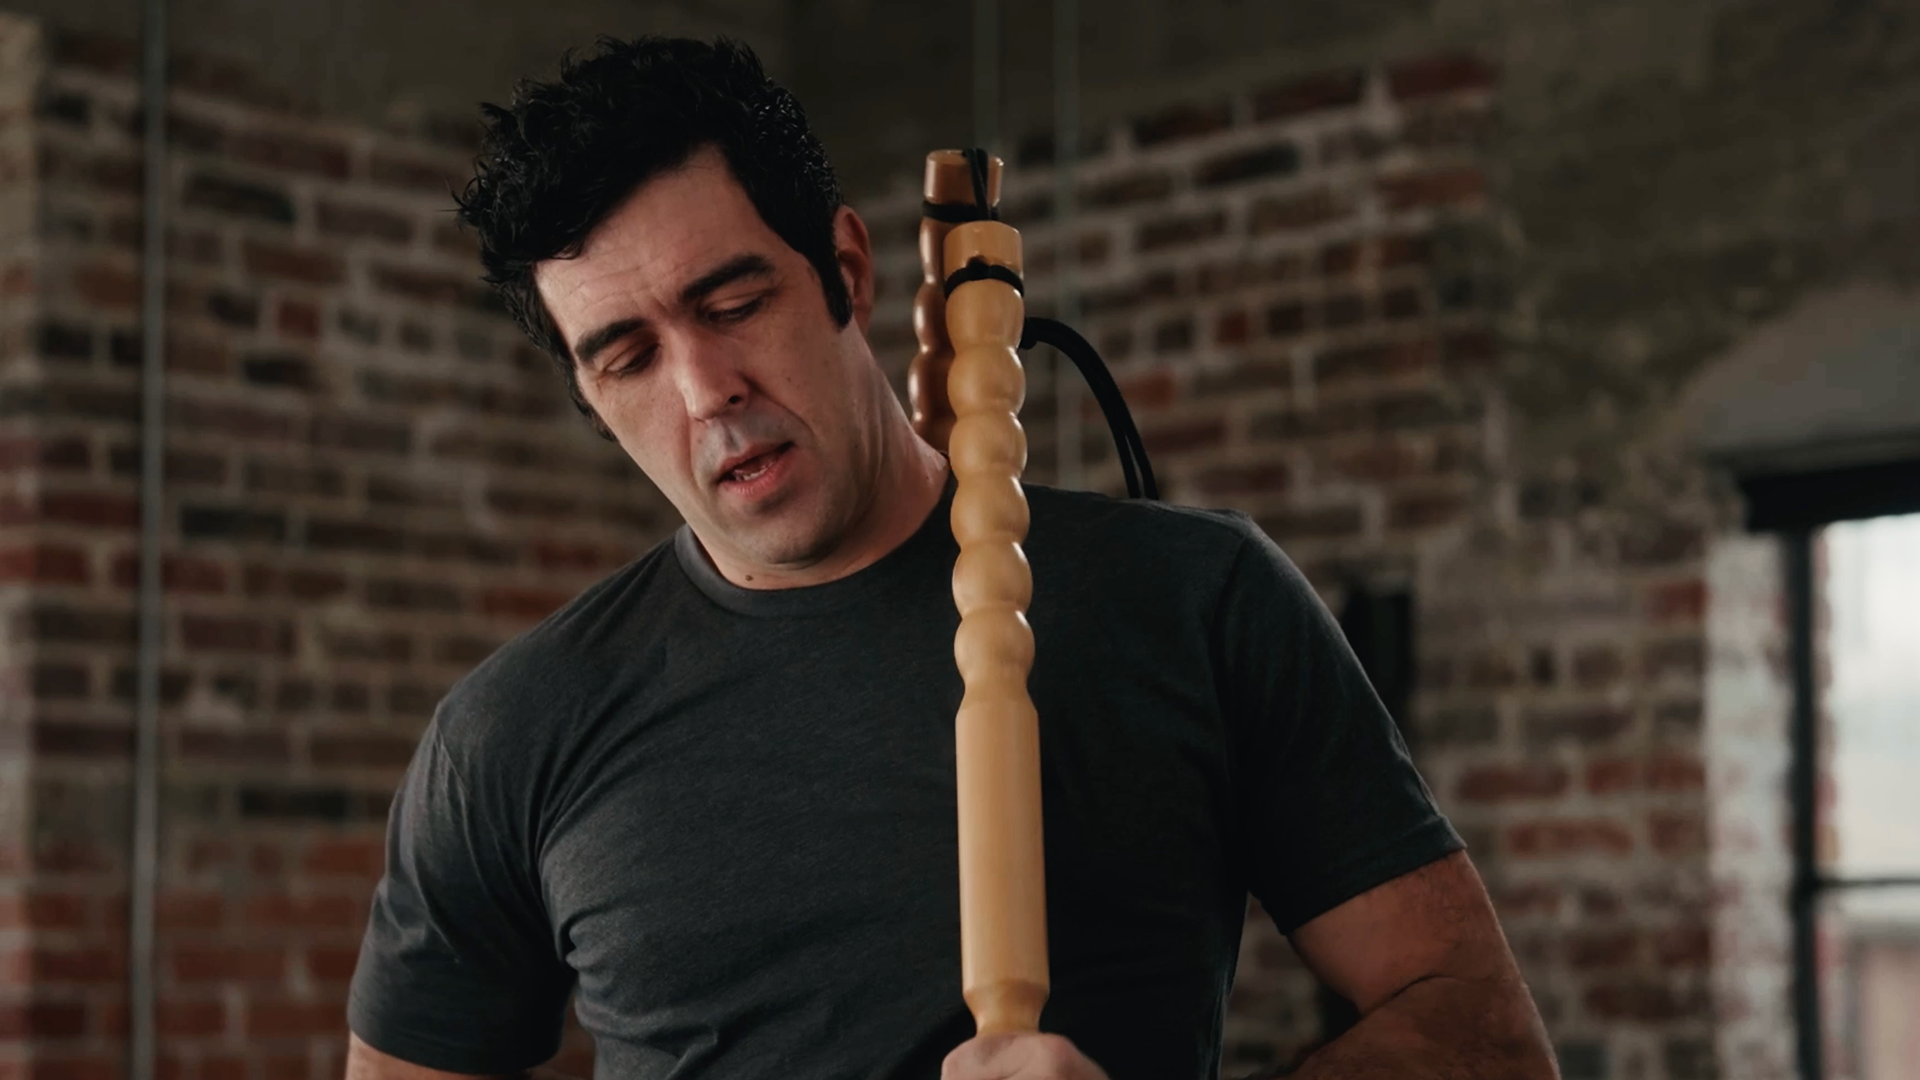
STEP 5
Exhale as you apply pressure; this often helps with relaxation. Focus the mind on the area being worked.

STEP 6
A little goes a long way. To access different muscle fibers, change the angle or orientation of the tool. It may help to bend a nearby joint or adjust your posture so you can better reach areas of concern.
BodyLever Safety: Discontinue use if you experience sharp or intense pain using the tool. Some minor discomfort may be experienced during use. Avoid using directly over joints or open wounds. Not a replacement for medical treatment; consult a healthcare professional for serious or persistent issues. Check with your doctor before using if pregnant, if you have questions about your health, or before starting something new.